Bake the Perfect Sourdough Loaf 🍞
There’s something magical about pulling a golden, crackling sourdough straight from the oven — the aroma, the rustic crust, the airy crumb… It’s like a hug from your own kitchen. This isn’t just bread; it’s patience, care, and a little bit of love fermented into something extraordinary.
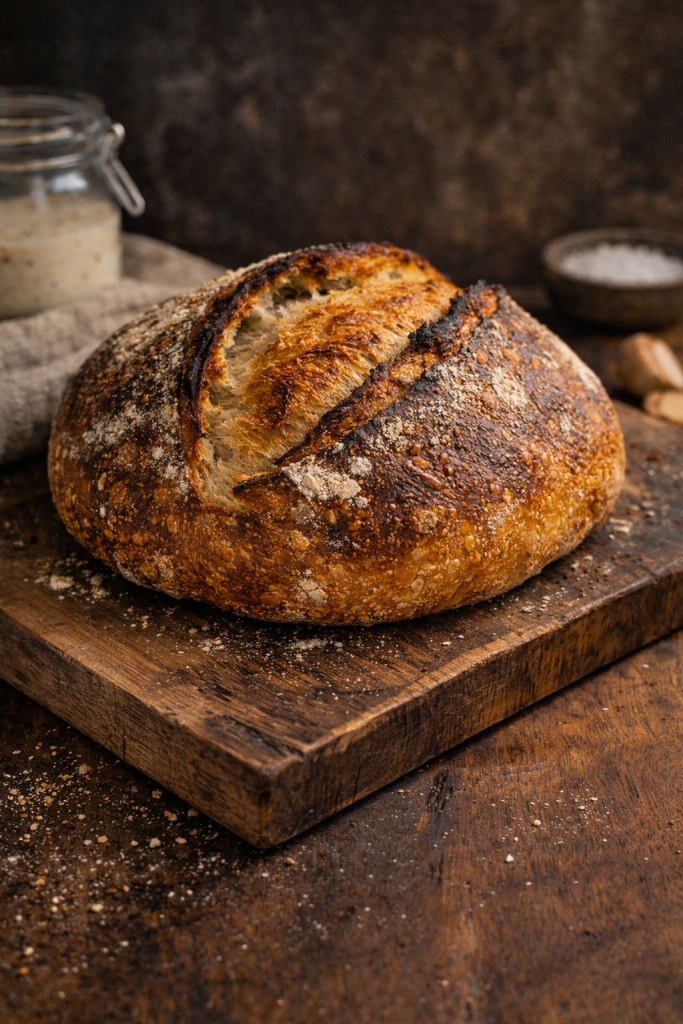
I’ve been baking sourdough for years, and over time I’ve learned that the trick isn’t rushing or overcomplicating — it’s about listening to the dough, giving it time, and letting natural flavors do the work. The result? A loaf with a crisp, caramelized crust, an open, tender crumb, and a subtle tang that makes every bite feel special.
Whether you’re a beginner or a seasoned baker, this recipe is easy to follow and forgiving. With just four ingredients — flour, water, starter, and salt — you can create something truly remarkable. I promise, once you master this basic loaf, you’ll want to experiment: adding seeds, olives, roasted garlic, or even a touch of whole wheat.
So, roll up your sleeves, embrace the process, and treat yourself to a loaf that’s as satisfying to bake as it is to eat. Your kitchen, your rules — let’s get baking! 👊🍞
Ingredients
- 500 g strong white bread flour (12–13% protein)
- 350 g water (70% hydration)
- 100 g active sourdough starter
- 10 g fine sea salt
Timeline Overview (Relaxed & Realistic)
- Mix & rest: 1 hour
- Bulk fermentation: 4–5 hours
- Cold proof: 12–16 hours
- Bake: 40–45 minutes
Total hands-on time: about 20 minutes
Method
1. Autolyse (Flavour & Gluten Boost)
In a large bowl, mix:
- 500 g flour
- 320 g water (hold back 30 g)
Mix until no dry flour remains.
Cover and rest 45–60 minutes.
👉 This step makes the dough smoother and stronger with zero effort.
2. Add Starter & Salt
Add:
- 100 g sourdough starter
- 10 g salt
- The remaining 30 g of water
Mix by hand (pinch & fold) until fully incorporated. Dough will be sticky but elastic.
3. Bulk Fermentation (4–5 Hours)
Keep dough at 22–24°C.
During the first 2 hours:
- Perform 4 sets of stretch & folds, every 30 minutes
How:
- Pull one side up, fold over
- Rotate bowl
- Repeat 4 times per set
After that, let it rest undisturbed until:
- It rises ~40–50%
- Looks airy with bubbles on the surface
- Feels light and alive
⚠️ Don’t overproof here. Sourdough is about patience, not size.
4. Pre-Shape & Bench Rest
Lightly flour the counter.
- Gently turn out the dough
- Shape into a loose round
- Rest 20 minutes, uncovered
5. Final Shape
Shape into a tight boule or batard.
Place seam-side up into a floured banneton (or towel-lined bowl).
Cover and refrigerate 12–16 hours.
👉 This cold proof = better flavour + easier scoring.
Baking Day
6. Preheat
- Oven to 240°C
- Dutch oven inside for 45 minutes
7. Bake
- Turn the dough onto the parchment
- Score confidently (one clean cut)
Bake:
- 20 minutes covered
- 20–25 minutes uncovered at 220°C
Crust should be deep golden, almost chestnut.
8. Cool (Important!)
Let cool at least 1 hour before slicing.
The crumb is still setting—cut too early, and you’ll ruin it
What You Should Get
- Crisp, crackly crust
- Open, irregular crumb
- Mild tang, not sour-bomb
- Perfect for butter, olive oil, or eggs
🧠 Nutritional Values (per slice, ~90 g | approx.)
- Calories: ~210 kcal
- Protein: ~7 g
- Carbohydrates: ~40 g
- Fat: ~1 g
- Fibre: ~2 g
- Sugars: ~0.5 g
(Values are estimates)
Chef’s Note
Sourdough teaches you patience and restraint. You don’t force it—you listen to it. Every loaf is a little different, and that’s the beauty. Once you nail this base, you can play: olives, roasted garlic, seeds, rye… endless road ahead.